Your sump pump is the only thing standing between your basement and thousands in flood damage. Here's how to make sure it's ready when Cook County's next storm rolls in.
Share:
Request a Callback
Want to skip the wait?
Simply enter your contact details, and we’ll call you when a Go Rooter Advisor becomes available.
Summary:
Your sump pump sits quietly in your basement pit, mostly out of sight and completely out of mind. Until the day Cook County gets hit with one of those storms that dumps inches of rain in hours. That’s when you find out if your pump works—or if you’re about to spend the next week dealing with water damage, ruined belongings, and a cleanup bill that makes your stomach turn.
Here’s the thing about sump pumps: they’re simple machines that do one critical job. But like any equipment, they fail when you need them most—unless you’ve actually maintained them. This isn’t complicated work. You don’t need special tools or a plumbing license. You just need to know what to check and when to check it.
Testing your sump pump takes about five minutes. Grab a bucket, fill it with water, and pour it slowly into the sump pit. Watch what happens.
The float should rise with the water level. Once it hits the trigger point, the pump should kick on and start moving water out through the discharge pipe. When the water level drops, the pump should shut off on its own. If any part of that sequence doesn’t happen, you’ve got a problem to fix before the next storm.
Most homeowners never test their pumps until they hear it running during a heavy rain. By then, if something’s wrong, it’s too late to prevent the damage. Test yours every three to four months, and definitely before spring and summer storm seasons hit Cook County.

Your sump pit collects more than just water. Dirt, debris, small rocks, and sediment all make their way down there over time. That buildup clogs the pump intake, jams the float switch, and eventually causes the whole system to fail when you need it.
Start by unplugging the pump. Safety first—you’re about to stick your hands into water and electrical equipment doesn’t mix well with that. Remove any visible debris from the pit. Stones, leaves, toys that somehow found their way down there—get it all out.
Next, take out the pump itself and inspect the inlet screen at the base. This screen keeps debris from getting sucked into the impeller, but it gets clogged with sediment. Use an old toothbrush or scrub brush to clean it thoroughly. While you’ve got the pump out, hose it off outside to remove any buildup on the housing.
Check the impeller for clogs too. If your pump has been making grinding or whining noises, a jammed impeller is usually the culprit. Clean it out, and those sounds should stop. Before you put everything back, wipe down the inside of the pit with a wet/dry vacuum to remove remaining grime and standing water.
Once the pit is clean, reconnect the pump to the discharge pipe, lower it back into position, and plug it back in. Then run your bucket test again to make sure everything still works correctly. A clean pump is a reliable pump, and reliability is what keeps your basement dry.
The float switch is the most common failure point on any sump pump. It’s a simple mechanism—a buoyant switch that rises with water and triggers the pump motor. But simple doesn’t mean foolproof.
Float switches fail when they get tangled in their own cords, when they stick against the side of the pit, or when debris prevents them from moving freely. Every time you’re down there checking your pump, physically move the float up and down. It should glide smoothly without catching on anything. If it’s stuck or struggling, you’ve found your problem before it causes a flood.
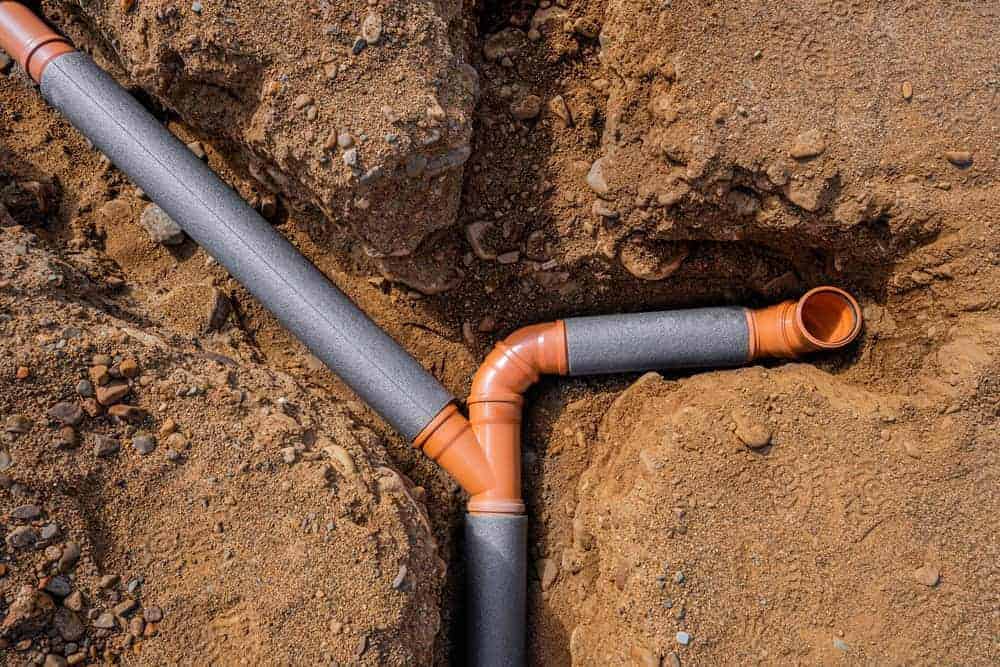
Your discharge line does the actual work of moving water away from your foundation. If it’s clogged, cracked, or dumping water too close to your house, your pump might be running perfectly while your basement still floods. Walk the discharge line from your basement to wherever it exits. Look for cracks, leaks, or disconnected sections.
The end of that line should be at least twenty feet away from your foundation. Any closer and you’re just recycling the same water back into the ground around your house, where it seeps back down and triggers your pump again. That’s called short-cycling, and it wears out your pump motor fast.
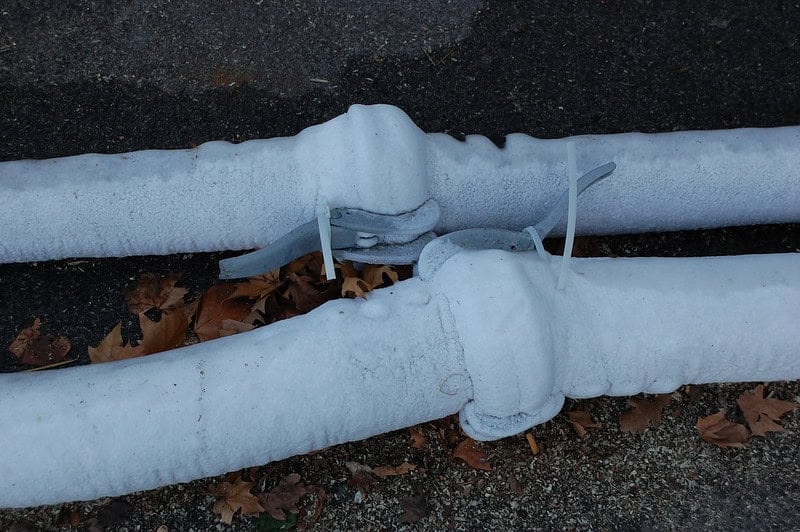
In winter, check for ice blockages. Water sitting in the discharge line can freeze solid, creating a plug that prevents your pump from draining. Some homeowners install IceGuard fittings that allow water to escape even if the line freezes. If you don’t have one and you live in Cook County where winter temperatures drop hard, it’s worth considering.
The check valve—that’s the one-way valve in your discharge line—prevents water from flowing back into the pit after the pump shuts off. A failed check valve means your pump has to re-pump the same water over and over. Test it by listening after the pump shuts off. If you hear water rushing back down, the valve’s shot and needs replacing.
Want live answers?
Connect with a Go-Rooter Emergency Plumbers expert for fast, friendly support.
Your outdoor faucets take a beating. They sit exposed to weather year-round, and if you’re in Cook County, that means freeze-thaw cycles that crack housings, wear out washers, and damage internal components. By the time summer rolls around and you’re hooking up hoses for yard work, those faucets are often leaking or barely functioning.
A dripping outdoor faucet wastes water—up to 100 gallons per month from a steady drip. But the bigger problem is what that constant moisture does to your foundation. Water pools near your house, saturates the soil, and creates pressure against your foundation walls. Over time, that leads to cracks, shifting, and expensive structural repairs.
Most outdoor faucet leaks come from worn washers inside the valve stem or loose packing nuts. Both are easy fixes if you catch them early.
Start with the simplest fix first. If water’s leaking from around the handle, the packing nut has probably loosened over time. Grab a wrench and tighten it clockwise—just a half turn usually does it. Turn the faucet on and off a few times to check if the leak stops.
If tightening the packing nut doesn’t work, you’re dealing with a worn washer. Shut off the water supply to that faucet. If there’s no dedicated shutoff valve, you’ll need to turn off your main water line. Open the faucet to drain any remaining water and release pressure.
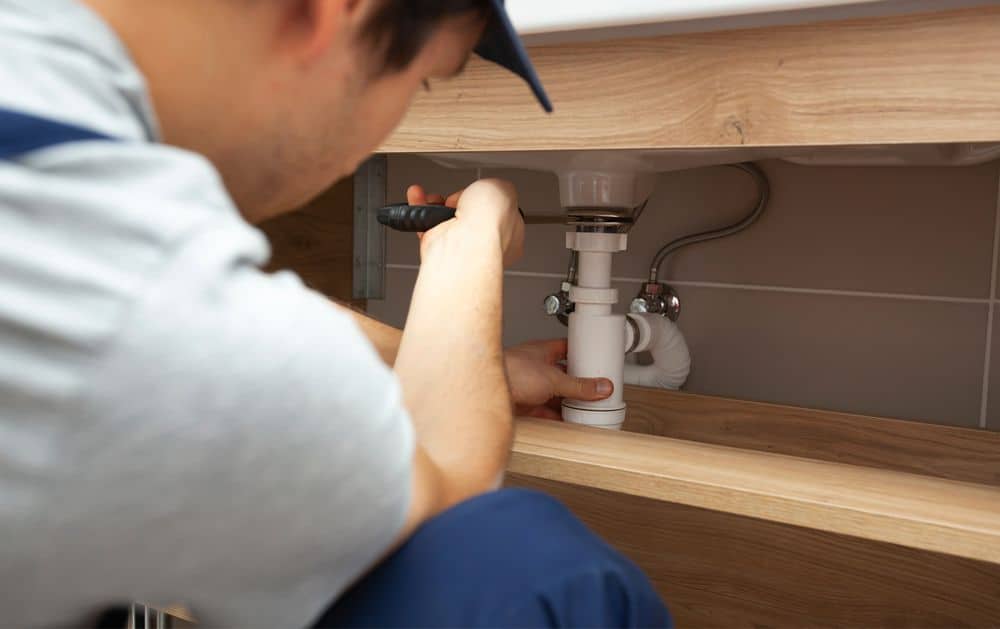
Remove the handle by unscrewing the top screw, then use your wrench to loosen the packing nut and pull out the valve stem. At the end of that stem, you’ll find a rubber washer held in place by a small screw. That washer is probably cracked, flattened, or deteriorated. Replace it with a new one that matches the size.
Reassemble everything in reverse order—insert the stem, tighten the packing nut, reattach the handle. Turn your water back on and test for leaks. If water still drips from the spout even with a new washer, the valve seat inside the faucet body might be corroded or damaged. At that point, you’re looking at replacing the entire faucet, which is still cheaper than dealing with foundation damage later.
For frost-free faucets—the ones with long stems that extend into your house—the same principles apply, but there’s one critical maintenance step most people miss. These faucets only work if you disconnect your garden hose before winter. A connected hose traps water inside the faucet, preventing it from draining. That trapped water freezes, cracks the faucet body, and you don’t discover the damage until spring when you turn it on and water starts spraying inside your wall.
Summer in Cook County means more than just heat. It means outdoor entertaining, lawn irrigation, kids running through sprinklers, and washing cars in the driveway. All of that puts extra demand on outdoor plumbing that’s been sitting idle since fall.
Before you start using outdoor faucets heavily, inspect every connection point. Check where hoses attach to spigots. Look for cracks in hose washers and replace them if they’re brittle or damaged. A 50-cent washer prevents a connection leak that can waste hundreds of gallons over a summer.
If you have an irrigation system, run each zone individually and watch for broken sprinkler heads, sunken areas that indicate underground leaks, or sections that aren’t getting water. A broken sprinkler line can dump hundreds of gallons a week into your yard without you noticing, especially if the leak is underground.
Clean out any outdoor drains or catch basins. Summer storms in Cook County can be intense, and clogged drains turn minor rainfall into flooding problems. Pull out leaves, debris, and anything blocking water flow. Make sure water can escape as designed.
Check your water pressure at outdoor spigots. Attach an inexpensive pressure gauge and turn on the water. Ideal pressure runs between 45 and 65 psi. Pressure that’s too high stresses pipes and fixtures, leading to leaks and failures. Too low might indicate a supply problem or a hidden leak somewhere in your system.
Finally, know where your outdoor shutoff valves are located. If a hose bursts or a sprinkler line breaks, you need to be able to stop the water flow immediately without running into your basement to shut off the main line. Mark these valves clearly so anyone in your household can find them in an emergency.
Nothing ruins a vacation faster than a phone call from a neighbor saying water is pouring out of your house. Plumbing failures don’t wait for you to get back from the beach. A small leak you didn’t know about can turn into thousands of gallons of damage while you’re gone.
Before you leave for any trip longer than a few days, run through a basic checklist. Shut off your main water supply—one turn of that valve eliminates most potential disaster scenarios. If you can’t shut off the main because you need water for irrigation or other systems, at least turn off individual supply lines to toilets, sinks, and your washing machine.
Test your sump pump one more time. Pour that bucket of water and make sure it kicks on and drains properly. If a storm hits while you’re gone, you want to know that pump is ready. Set your water heater to vacation mode or turn the temperature down to save energy and reduce the risk of pressure buildup.
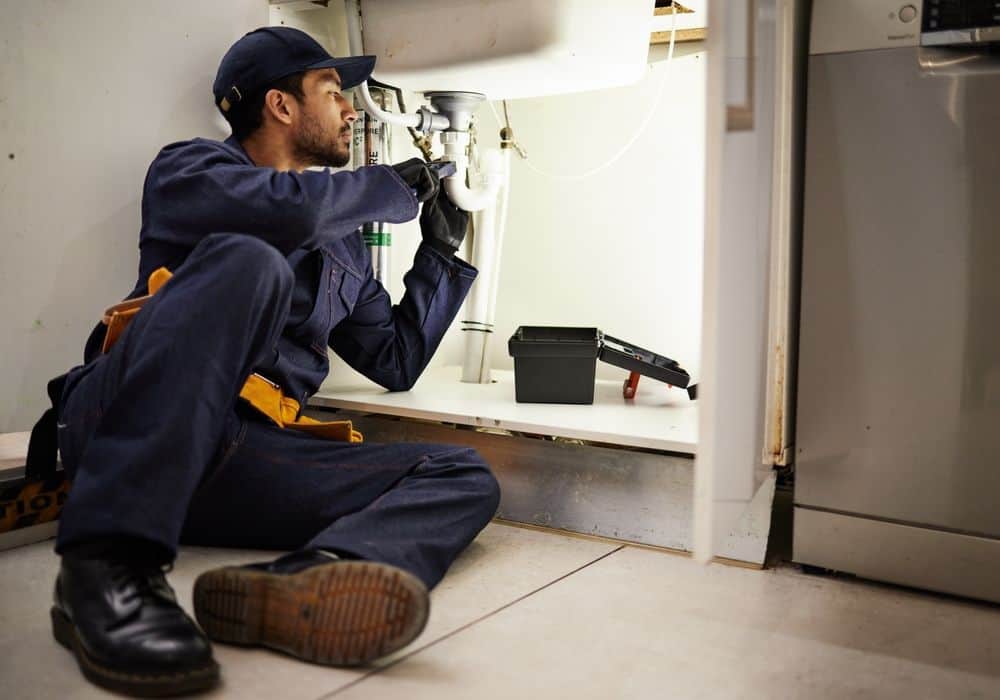
Walk through your house and check under every sink, behind every toilet, and around your water heater for signs of moisture or small leaks. Fix anything you find before you leave. A slow drip becomes a major problem when there’s nobody home to notice it getting worse.
If you’re leaving during storm season, ask a trusted neighbor to check on your house periodically. Show them where your main water shutoff is located. That five-minute check could save you from coming home to a disaster.
When plumbing problems do happen—and eventually they will—you want a plumber who understands Cook County’s specific challenges, responds fast, and gives you upfront pricing before starting work. We’ve been handling everything from routine maintenance to emergency flooding for Chicago and Cook County homeowners. Reach out before you need emergency help, or when you’re ready to schedule that sump pump inspection you’ve been putting off.
Article details:
Share:
Continue learning:
Request a Callback
Want to skip the wait?
Simply enter your contact details, and we’ll call you when a NY Spine Advisor becomes available.